
Cursor has become one of the best AI coding tools, reaching $100M ARR in record time. Built as a fork of VS Code, Cursor lets you connect with all major AI models, Claude, GPT-4, Gemini, and more, directly within your IDE. If you're wondering how Cursor compares to Windsurf, both are VS Code-based editors with different AI workflows. If you're wondering how Cursor compares to Windsurf, both are VS Code-based editors with different AI workflows. If you're wondering how Cursor compares to Windsurf, both are VS Code-based editors with different AI workflows. If you're wondering how Cursor compares to Windsurf, both are VS Code-based editors with different AI workflows.
The tool is incredibly powerful, but if you want to maximize productivity and avoid burning through credits too quickly, you need to master a few key practices. In this guide, we'll cover 8 best practices that will help you code 10x faster with Cursor. If you're just getting started, the Cursor AI tutorial will walk you through the setup. If you're just getting started, the Cursor AI tutorial will walk you through the setup. If you're just getting started, the Cursor AI tutorial will walk you through the setup. If you're just getting started, the Cursor AI tutorial will walk you through the setup.
Key Takeaways
- Add as much context as possible using @mentions and screenshots for better AI outputs
- Set up .cursorrules files and custom commands to maintain consistency across your project
- Use Git worktrees to run multiple Cursor instances in parallel on different features
- Leverage voice input (built-in or Wispr Flow) for faster, more natural prompting
- Use Background Agents to run tasks from the cloud, even from your phone
- Always use Plan Mode before complex tasks to avoid wasted tokens and wrong approaches
- Combine Cursor with open-source spec libraries like spec-kitty for structured prompts
- Pair Cursor with terminal-based AI tools like Claude Code for non-IDE tasks
Learn this hands-on
Ready to ship a real production app, not just pick a model? Check out the Master Course: Build and Ship a Production-Ready App with Lovable and Cursor.

1. Add As Much Context As Possible
The quality of Cursor's output depends entirely on the context you provide. The more specific and detailed your context, the better the results.
Use @mentions to Target Specific Files
Instead of letting Cursor guess which files to edit, explicitly reference them using the @ syntax:
@filename.ts- Reference a specific file@folder/- Reference an entire folder@codebase- Search across your entire codebase
For example, instead of saying "update the authentication logic," say "@auth/login.ts update the authentication logic to include OAuth support."
Add Screenshots for Visual Context
Cursor supports image inputs, which is incredibly useful for:
- UI bugs: Screenshot the issue and ask Cursor to fix it
- Design implementation: Share a Figma screenshot and ask Cursor to implement it
- Error messages: Screenshot console errors for faster debugging
Simply paste or drag images directly into the chat, and Cursor will analyze them alongside your code.
2. Set Up Rules and Custom Commands
Cursor Rules (.cursorrules)
Cursor Rules are the equivalent of Claude's .claude files. They let you define persistent instructions that apply to every interaction:
# .cursorrules example

You are an expert TypeScript developer working on a Next.js 14 application.

## Tech Stack
- Next.js 14 with App Router
- TypeScript (strict mode)
- Tailwind CSS
- Supabase for database and auth

## Code Style
- Use functional components with hooks
- Prefer named exports over default exports
- Use absolute imports with @/ prefix
- Always add proper TypeScript types

## Architecture
- Follow the feature-based folder structure
- Keep components small and focused
- Use server components by default
Place this file in your project root, and Cursor will automatically apply these rules to every conversation.
Custom Commands for Repetitive Tasks
Custom Commands let you save frequently-used prompts. Instead of typing the same instructions repeatedly, create a command:
- Open Command Palette (Cmd+Shift+P)
- Search for "Cursor: Configure Custom Commands"
- Add your command:
{
 "commands": [
 {
 "name": "Add Tests",
 "prompt": "Write comprehensive unit tests for the selected code using Jest and React Testing Library. Include edge cases and error scenarios."
 },
 {
 "name": "Refactor",
 "prompt": "Refactor the selected code to improve readability and performance. Explain your changes."
 }
 ]
}
3. Run Several Cursor Instances Using Git Worktrees
Git worktrees let you work on multiple branches simultaneously without stashing or switching contexts. Combined with Cursor, this becomes incredibly powerful.
Setting Up Worktrees
# Create a worktree for a new feature
git worktree add ../my-project-feature-auth feature/auth

# Create a worktree for a bugfix
git worktree add ../my-project-bugfix-login bugfix/login
Each worktree is a separate directory with its own working copy. You can:
- Open each worktree in a separate Cursor window
- Run different AI tasks in parallel
- Work on multiple features without context switching
Parallel Development Workflow
- Window 1: Main development on
mainbranch - Window 2: Feature development on
feature/auth - Window 3: Bug fixes on
bugfix/login
Each Cursor instance maintains its own conversation history and context, so you can have Cursor working on different tasks simultaneously.
4. Prompt Cursor via Dictation Tools
Voice input can dramatically speed up your prompting workflow, especially for complex instructions.
Built-in Voice Input
Cursor has a built-in voice input feature:
- Press Cmd+Shift+V (or the voice input shortcut)
- Speak your prompt
- Cursor transcribes and sends it
This is perfect for quick commands and short prompts.
Dedicated Dictation Tools (Wispr Flow)
For longer, more complex prompts, consider a dedicated dictation tool like Wispr Flow:
- Higher accuracy transcription
- Works system-wide (not just in Cursor)
- Supports voice commands and punctuation
- Learns your vocabulary over time
Voice input is especially useful when you're:
- Explaining complex logic
- Describing UI requirements
- Thinking through architecture decisions
5. Use Cursor Cloud Agents (Background Agents)
Cursor's Background Agents let you run tasks directly from the cloud, even from your phone.
How It Works
- Open the Background Agents panel
- Describe your task
- Cursor spins up a cloud environment
- Work happens in the background
- When complete, a PR is automatically created
Use Cases
- From your phone: Start a refactoring task while commuting
- Overnight tasks: Queue up large migrations to run while you sleep
- Parallel execution: Run multiple agents on different tasks
Best Practices for Background Agents
- Provide clear, specific instructions
- Reference relevant files with @mentions
- Set up proper test coverage so agents can verify their work
- Review PRs carefully before merging
6. Use Plan Mode Before Coding
Plan Mode is one of Cursor's most underutilized features. Instead of jumping straight into code generation, use Plan Mode to think through the approach first.
When to Use Plan Mode
- Starting a new feature
- Refactoring complex code
- Debugging tricky issues
- Making architectural decisions
How to Use It
- Start your prompt with "Let's plan this first" or toggle Plan Mode
- Cursor will analyze the task and propose a step-by-step approach
- Review and refine the plan
- Execute each step with full context
Benefits
- Catches edge cases before coding
- Provides a clear roadmap
- Makes complex tasks manageable
- Reduces wasted tokens on wrong approaches
7. Combine with Open-Source Spec Libraries
Several open-source projects help structure your Cursor interactions for better results.
Spec Kitty
spec-kitty helps you create structured specifications that Cursor can follow:
- Define clear acceptance criteria
- Create testable requirements
- Generate consistent code patterns
GitHub Spec Kit
spec-kit from GitHub provides (see also our lesson on effective prompting workflows in Claude Code):
Related Lesson on Vibe Coding Academy
- Standardized prompt templates
- Best practices for AI-assisted development
- Integration with GitHub workflows
How to Use Them
- Clone the repository
- Copy the relevant templates to your project
- Customize for your tech stack
- Reference them in your Cursor Rules
8. Combine with Terminal-Based AI Tools
Cursor excels at IDE-based development, but sometimes you need terminal-level AI assistance. Combine Cursor with these tools for maximum productivity:
Claude Code
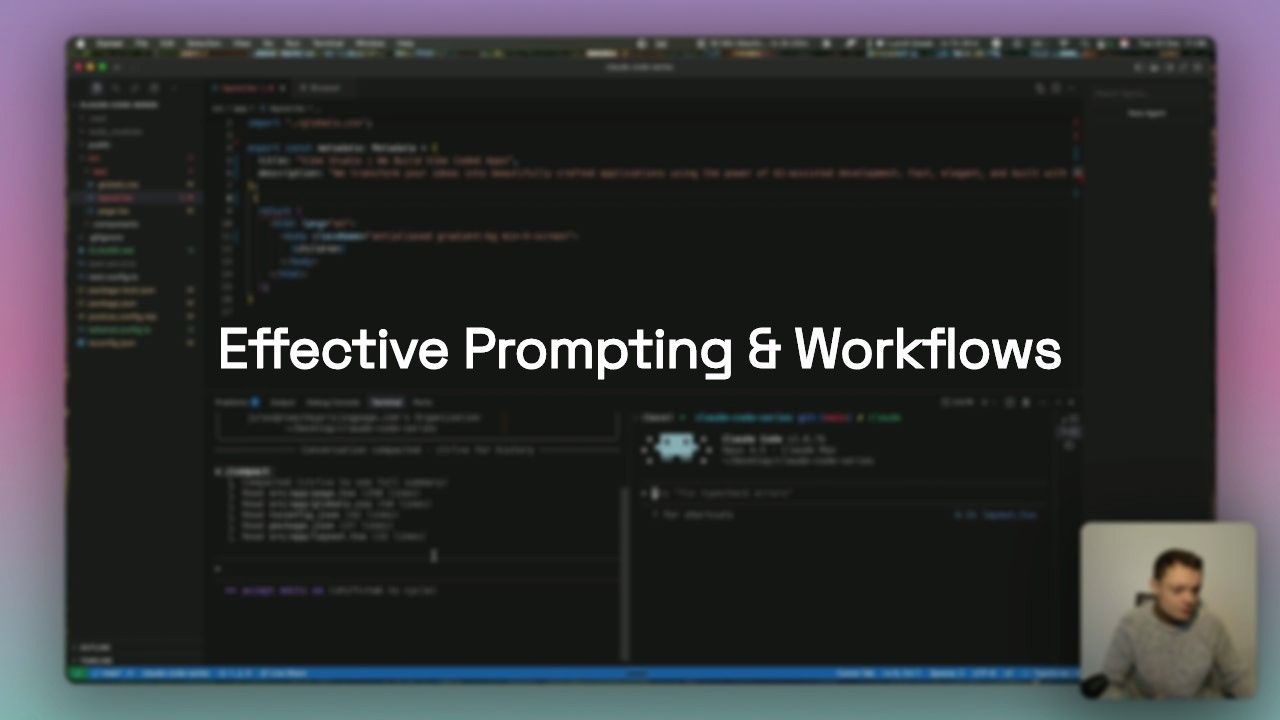
Claude Code is Anthropic's terminal-based AI assistant, learn the fundamentals in our effective prompting and workflows lesson:
- Perfect for system administration tasks
- Great for scripting and automation
- Works outside your IDE
Gemini CLI
Google's Gemini CLI offers:
- Integration with Google Cloud services
- Multimodal capabilities
- Fast responses for quick tasks
OpenAI Codex
For specific coding tasks:
- API integrations
- Code completion
- Translation between languages
When to Use Each Tool
| Task | Best Tool |
|---|---|
| IDE development | Cursor |
| System scripts | Claude Code |
| Quick questions | Gemini CLI |
| File operations | Claude Code |
| UI development | Cursor |
| DevOps tasks | Claude Code |
Conclusion
Mastering Cursor isn't just about knowing the features, it's about developing workflows that maximize your productivity while minimizing wasted effort and credits.
Start with these 8 practices:
- Add context - Use @mentions and screenshots
- Set up rules - Create .cursorrules and custom commands
- Use worktrees - Run parallel Cursor instances
- Try voice input - Dictate complex prompts
- Leverage cloud agents - Run tasks in the background
- Plan first - Use Plan Mode for complex tasks
- Use spec libraries - Structure your prompts
- Combine tools - Use terminal AI for non-IDE tasks
The key is to treat Cursor as a collaborator, not just a code generator. This is the foundation of vibe coding best practices, pairing the right tool with the right workflow. Give it the context it needs, structure your requests clearly, and combine it with other tools for a complete AI-powered development workflow. For a deeper look at the landscape, our AI coding tools comparison breaks down which tools shine for which use cases. For a deeper look at the landscape, our AI coding tools comparison breaks down which tools shine for which use cases. For a deeper look at the landscape, our AI coding tools comparison breaks down which tools shine for which use cases. For a deeper look at the landscape, our AI coding tools comparison breaks down which tools shine for which use cases.
Ready to level up your Cursor skills? Explore our full Claude Code series to complement your Cursor workflow with terminal-based AI tools.
Related Course on Vibe Coding Academy

Ready to go beyond best practices? Master Cursor and ship production-ready apps in our hands-on course.
Related Course on Vibe Coding Academy
Ready to go beyond best practices? Master Cursor and ship production-ready apps in our hands-on course.
Ready to go beyond best practices? Master Cursor and ship production-ready apps in our hands-on course.
Ready to go beyond best practices? Master Cursor and ship production-ready apps in our hands-on course.