Loading...
Back to all coursesStart the Master Course
⭐Flagship Course
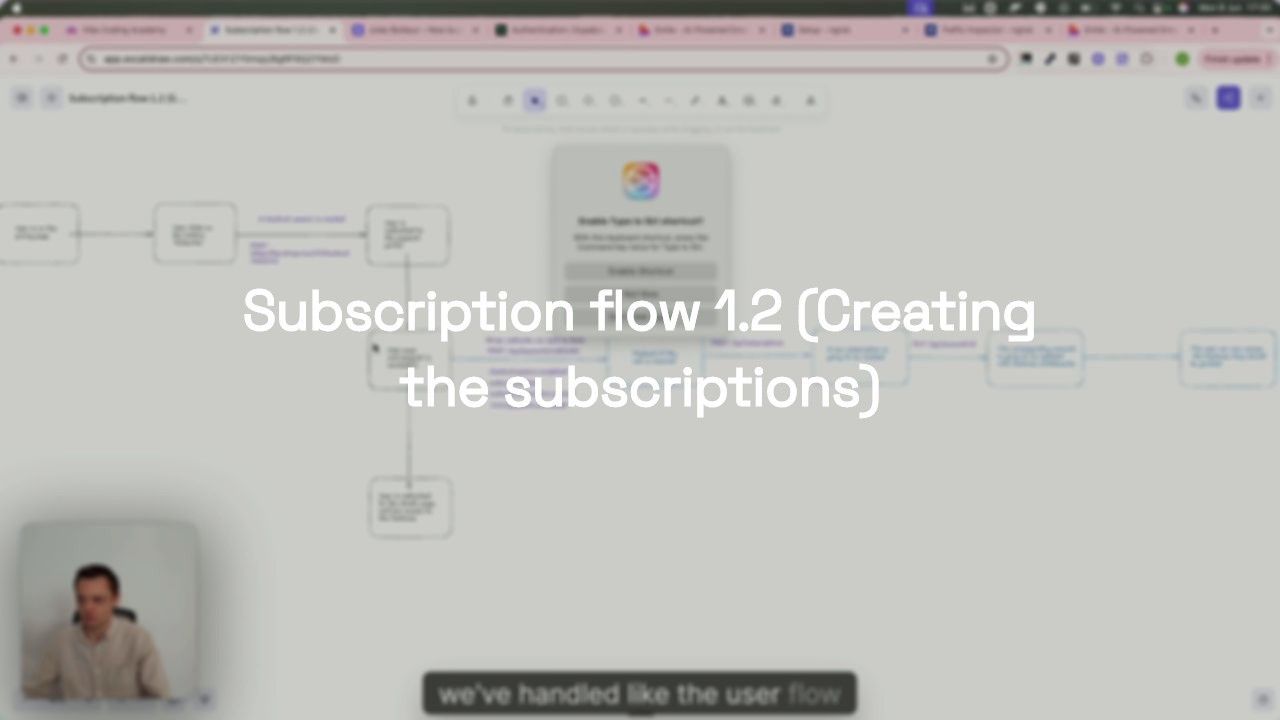
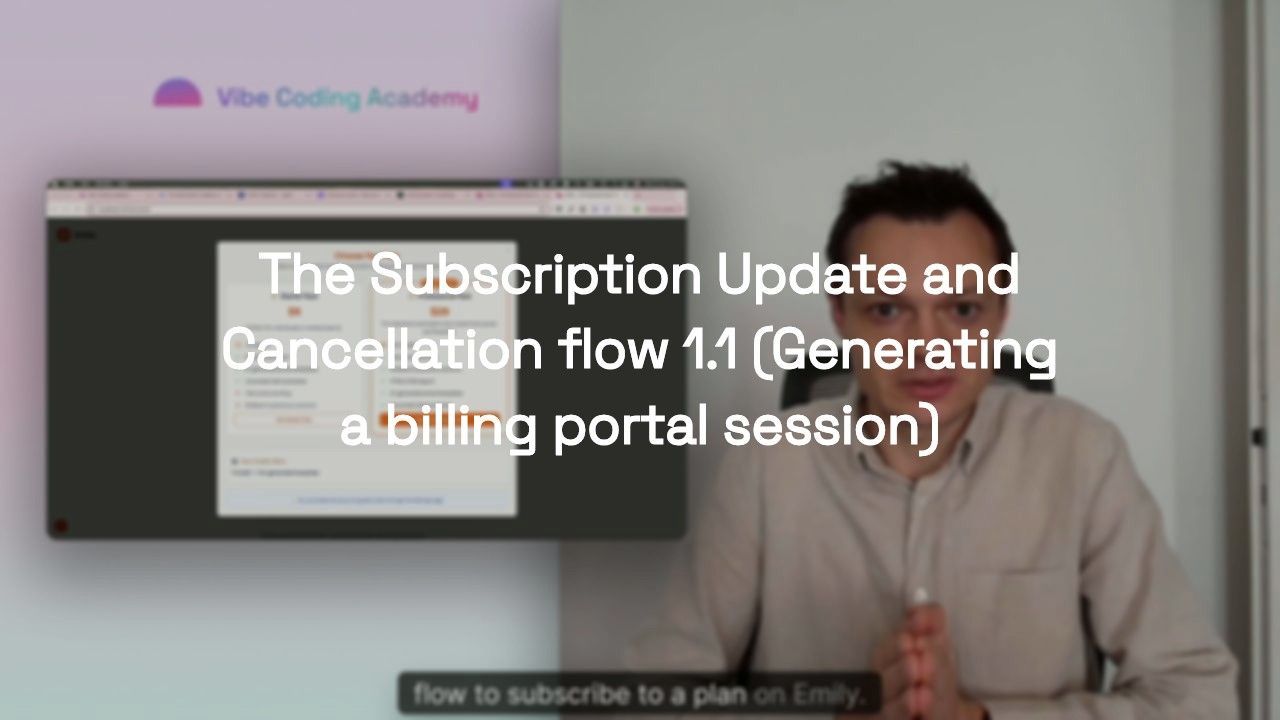
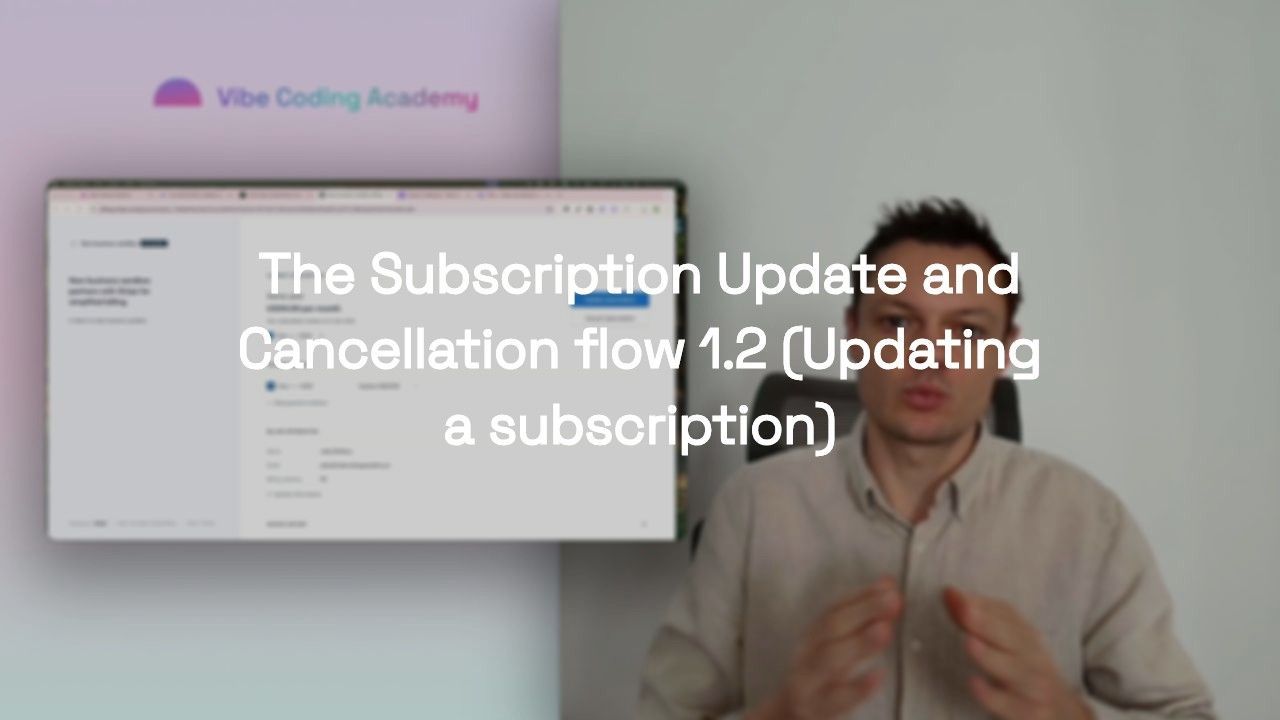
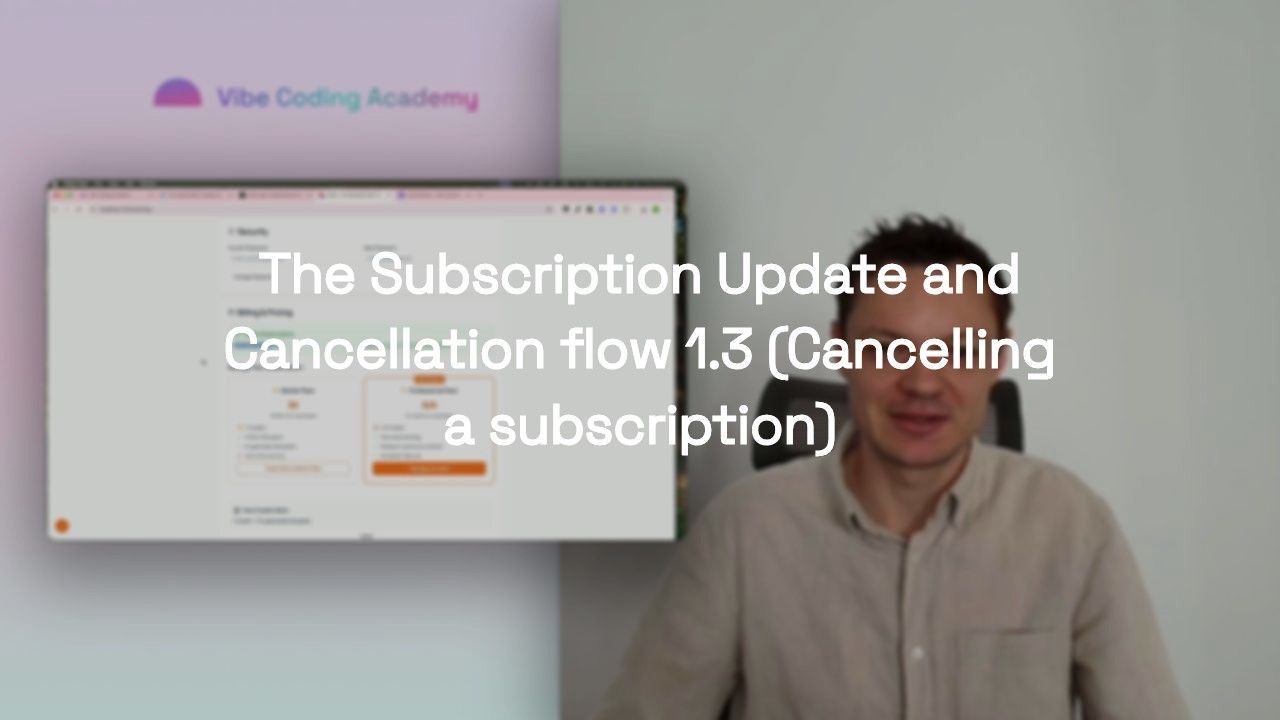
Master Course: Build and Ship a Production-Ready App with Lovable and Cursor
Go from idea to production with Lovable and Cursor: frontend, backend, auth, database, and payments included.
52 lessons
9h 28m total
8 sessions
🎥
Video Lessons
52 tutorials
Lessons in This Course
🚀
Finished the Master Course?
Keep leveling up your vibe coding game with 110+ additional lessons on the latest tools and techniques.
Explore More Courses