If you've ever wanted to build a real web application but felt intimidated by the complexity of traditional coding, vibe coding might be exactly what you need. This comprehensive vibe coding tutorial walks you through building a complete, production-ready app called "Emlie", an AI-powered email template generator, using modern AI-assisted development tools.
Vibe coding is a development approach where you describe what you want in natural language, and AI generates the actual code. Instead of spending months learning syntax and wrestling with documentation, you focus on product vision, user experience, and business logic while AI handles the implementation details.
Key Takeaways
- Vibe coding lets you build production-ready apps by describing what you want in natural language while AI generates the code, eliminating the need for traditional programming expertise.
- This tutorial guides you through building Emlie, a complete SaaS application with frontend (Lovable), backend (Cursor), database (Supabase), authentication, AI integration (Claude API), and payment processing (Stripe).
- A well-structured Product Requirements Document (PRD) is the foundation of successful vibe coding, specific requirements produce production-ready results while vague descriptions yield poor outcomes.
- The seven-step workflow covers planning and prototyping, building a flexible backend, setting up databases with proper relationships, integrating external APIs, implementing authentication, adding subscription payments, and deploying to production with custom domains.
- You'll learn to use AI-powered tools strategically: Lovable generates React frontends from descriptions, Cursor scaffolds backend APIs and handles refactoring, and Supabase provides database, auth, and security with minimal configuration.
- By following this tutorial, non-technical founders and product managers can ship complete applications with features like user accounts, AI-generated content, usage-based billing, and Row Level Security, validating ideas without waiting for engineering resources.
Learn this hands-on
Ready to ship a real production app, not just pick a model? Check out the Master Course: Build and Ship a Production-Ready App with Lovable and Cursor.
Who This Tutorial Is For
This vibe coding tutorial is designed for:
- Product managers who want to prototype ideas without waiting for engineering resources
- Entrepreneurs building their first SaaS product
- Non-technical founders who need to validate concepts quickly
- Early-stage developers looking to accelerate their workflow
You don't need years of programming experience. If you can describe what you want clearly and follow structured workflows, you can build professional applications.
What You'll Build
By the end of this tutorial, you'll have built a complete production application with:
- A beautiful, responsive frontend
- A scalable backend API
- A database with proper relationships
- User authentication and authorization
- Payment processing with subscriptions
- Integration with external AI APIs
- Full deployment to production with a custom domain
The Tools You'll Use
This vibe coding tutorial combines several powerful platforms:
- Lovable: An AI-powered frontend builder that generates React applications from written descriptions
- Cursor: An AI-native code editor that understands context and can generate, edit, and debug code
- Supabase: A backend-as-a-service platform providing database, authentication, and real-time capabilities
- Stripe: Industry-standard payment processing for subscriptions
- GitHub: Version control to track changes and collaborate
What You'll Need Before Starting
- A Lovable account (free tier available)
- Cursor installed on your computer
- A Supabase account (free tier available)
- A Stripe account (test mode is free)
- A GitHub account
- A willingness to learn and experiment
Now let's walk through the complete vibe coding process, step by step.
Step 1: Plan and Prototype Your Frontend with Lovable
The foundation of any successful vibe coding project is proper planning. Unlike traditional coding where you might jump straight into writing boilerplate, vibe coding starts with clear product thinking.
Creating Your Product Requirements Document (PRD)
AI tools need structure. A Product Requirements Document serves as your blueprint, a detailed conversation with your AI assistant about what you want to build.
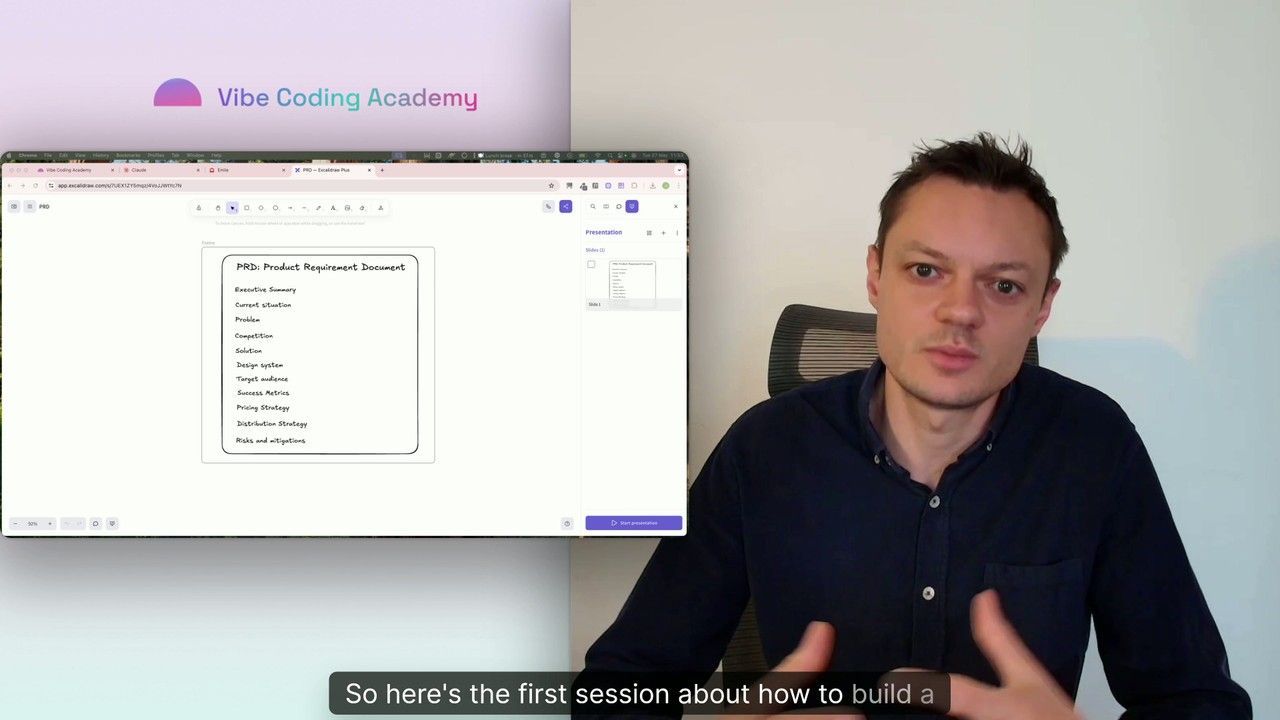
In Creating a first version of Product Requirement Document (PRD) that is ready for Lovable, you'll learn to structure your PRD with:
Related Lesson on Vibe Coding Academy
- Product vision: What problem does Emlie solve?
- Target audience: Who will use this?
- Core features: What functionality is essential for the MVP?
- User flows: How do users accomplish key tasks?
- Design preferences: Color schemes, layout styles, component libraries
The key insight: a well-written PRD dramatically improves the quality of AI-generated code. Vague descriptions produce vague results. Specific, structured requirements produce production-ready applications.
Understanding Your Competition
Before building, understand the landscape. What already exists? What works well? What could be improved?
Coming up with a comprehensive competitive analysis teaches you to use tools like ChatGPT's Deep Search to research competing products. This research informs your PRD and helps you identify what makes your product unique.
Related Lesson on Vibe Coding Academy
Mapping Your User Flow
Features don't exist in isolation, they're part of user journeys. Polishing your MVP's user flow teaches you to create visual mappings:
Related Lesson on Vibe Coding Academy
- User lands on homepage → Signs up → Sees dashboard
- User clicks "Generate Template" → Enters requirements → AI generates content → User edits → User saves
- User views saved templates → Selects one → Creates new version → Compares versions
Flow mapping is crucial for vibe coding because it helps you communicate sequential logic to AI tools.
Running a Technical Discovery
Even though AI handles the coding, you still need to validate technical feasibility. Running a first technical discovery teaches you to verify that the APIs you need exist, Supabase supports your data relationships, and there are no technical blockers for your MVP.
Related Lesson on Vibe Coding Academy
Setting Up Your Design System
Professional applications have consistent design. Design systems fundamentals shows you how to create AI-friendly design guidelines, color palettes, typography, spacing systems, and component specifications. When you provide these in your PRD, Lovable generates a frontend that looks professionally designed.
Related Lesson on Vibe Coding Academy
Generating Your Frontend with Lovable
Now comes the magic. In Generating the frontend of the application with Lovable, you'll input your PRD into Lovable and watch it generate a complete React application with routing, components, and styling. The initial version uses mocked data, you'll connect real databases later.
Related Lesson on Vibe Coding Academy
At the end of Step 1, you have a beautiful, clickable frontend prototype that demonstrates your product vision.
Step 2: Build a Flexible Backend with Cursor
A frontend without a backend is like a storefront with no inventory. Step 2 focuses on building the server-side infrastructure.
Connecting Lovable and Cursor via GitHub
The bridge between Lovable and Cursor is GitHub. Syncing Lovable's code with Cursor via GitHub walks you through exporting your Lovable project to GitHub, cloning the repository, and opening it in Cursor.
Related Lesson on Vibe Coding Academy
Getting Started with Cursor
If you've never used an AI-native code editor, Cursor will feel revolutionary. The Introduction to Cursor covers the interface, AI commands, context awareness, and inline generation. You can say "Create an API endpoint that generates email templates using the Claude API" and Cursor scaffolds the entire thing.
Related Lesson on Vibe Coding Academy
Learning Git Fundamentals
Even though AI writes most of your code, you need basic Git literacy. Git fundamentals teaches the five commands that cover 90% of daily usage: git status, git add, git commit, git push, and git pull.
Related Lesson on Vibe Coding Academy
Understanding Application Architecture
Before building backend functionality, understand how modern web applications are structured. Introduction to the overall structure of the application explains frontend-backend separation, client-server communication, and API design patterns.
Related Lesson on Vibe Coding Academy
Creating the Backend Structure
With architectural understanding in place, Creating the backend structure guides you through setting up an Express.js server with proper folder structure, middleware, and environment variables. In vibe coding, you describe the structure to Cursor and it generates the files and code.
Related Lesson on Vibe Coding Academy
Setting Up Your Local Environment
Getting your local environment ready for magic shows you how to run your entire application locally with simple commands. Run two terminal commands and your frontend and backend are both running.
Related Lesson on Vibe Coding Academy
Validating the Frontend-Backend Connection
Theory is great, but you need proof. Validating the connection between frontend and backend involves building a simple health-check feature end-to-end: create a backend endpoint, make a frontend call, see the response. If this works, everything else is elaboration on the same pattern.
Related Lesson on Vibe Coding Academy
At the end of Step 2, your Lovable prototype is connected to a Cursor-powered API.
Step 3: Set Up Your Database with Supabase
Every meaningful application stores data. User accounts, saved templates, settings, all of this needs persistent storage.
Database Fundamentals
Database essentials 1.0 provides a crash course in relational databases: tables, columns, rows, primary keys, and SQL basics. Supabase provides a visual interface, so you won't write much raw SQL, but understanding these concepts helps you design better data structures.
Related Lesson on Vibe Coding Academy
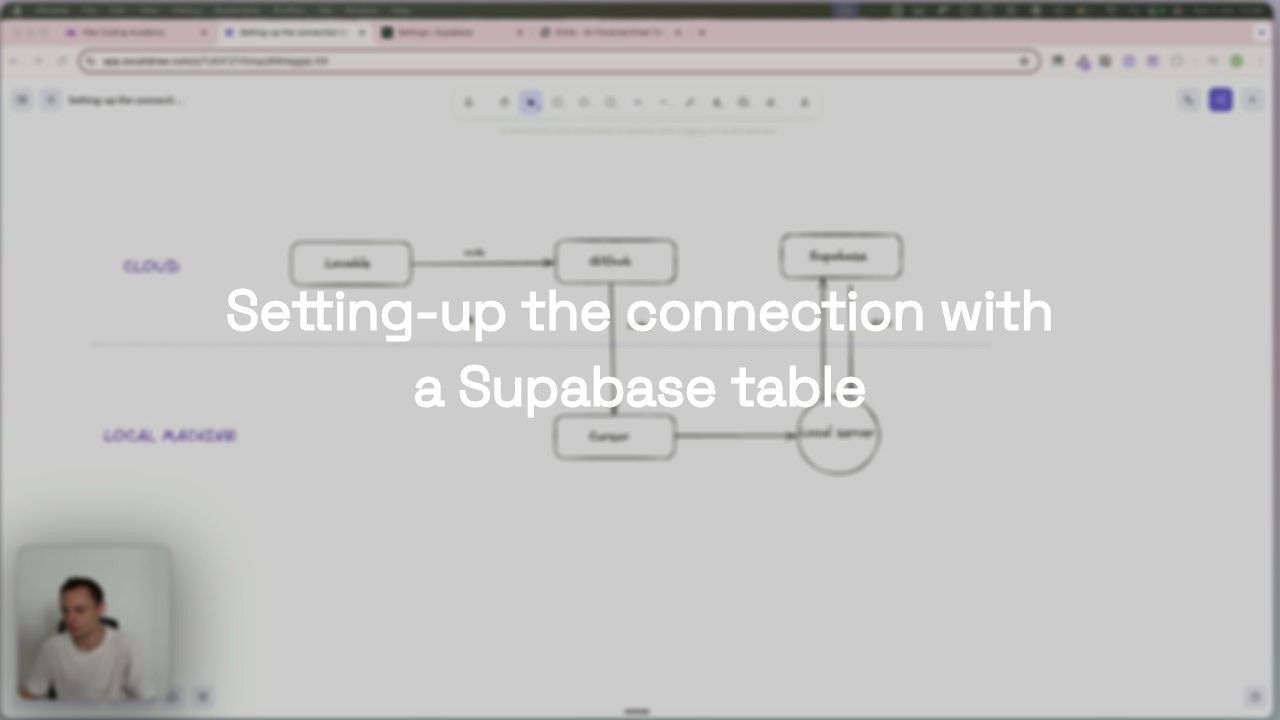
Connecting to Supabase
Setting up the connection with a Supabase table walks through creating a Supabase project, designing your first table, getting connection credentials, and configuring your backend to connect.
Related Lesson on Vibe Coding Academy
Performing CRUD Operations
Performing CRUD operations on a Supabase table teaches you to build API endpoints for each operation:
Related Lesson on Vibe Coding Academy
- CREATE:
POST /api/templates, Insert new templates - READ:
GET /api/templates, Retrieve templates - UPDATE:
PUT /api/templates/:id, Modify existing templates - DELETE:
DELETE /api/templates/:id, Remove templates
Your frontend can now save real data instead of using mocks. This is a major milestone.
Database Relationships
Real applications have data that relates to other data. Database essentials 1.1, Foreign key values explains foreign keys and one-to-many relationships: one user has many templates, each template belongs to one user.
Related Lesson on Vibe Coding Academy
Building a Versioning Feature
To put foreign keys into practice, Implementing a new feature: Versioning builds a template versioning system. When users edit a template, the new content is saved as a version rather than overwriting, with full rollback capability.
Related Lesson on Vibe Coding Academy
At the end of Step 3, your application has persistent data storage with proper relationships.
Step 4: Integrate External APIs
The core value of Emlie is AI-powered email template generation. Your database stores templates, but you need an external AI service to generate them.
Connecting to the Claude API
Integrating an external API 1.1 teaches you to:
Related Lesson on Vibe Coding Academy
- Set up Anthropic API credentials
- Create a
POST /api/templates/generateendpoint - Accept user inputs (template type, tone, key points)
- Construct a prompt for Claude
- Return the generated content to the frontend
With vibe coding, you describe this integration to Cursor and it handles the async patterns, error handling, and API key management.
Building Advanced AI Features
Integrating an external API 1.2 extends the integration to support AI-assisted editing and rollback with explanations. Each feature follows the same vibe coding pattern: define the experience, describe the logic to Cursor, test locally, iterate.
Related Lesson on Vibe Coding Academy
At the end of Step 4, your application offers genuine AI-powered value. Users aren't just storing templates, they're generating professional content with cutting-edge AI.
Step 5: Add Authentication with Supabase
Until now, anyone can access your application. For production, you need user accounts, login flows, and data isolation.
Understanding Authentication
High-level overview of authentication explains authentication vs. authorization, JWT tokens, sessions, and password hashing. Supabase handles most of this complexity, your job is integrating these pre-built systems.
Related Lesson on Vibe Coding Academy

Building Auth Flows
The core authentication flows are implemented across several lessons:
- The sign-up user flow: Registration form, input validation, Supabase
auth.signUp(), confirmation emails - The sign-in user flow: Login form,
auth.signInWithPassword(), session storage, error handling - The sign-out user flow:
auth.signOut(), clear local state, redirect - Reset password user flow: Password recovery with Supabase's built-in email delivery
Related Lesson on Vibe Coding Academy
Related Lesson on Vibe Coding Academy
Related Lesson on Vibe Coding Academy
Related Lesson on Vibe Coding Academy

Each flow follows the same vibe coding pattern: describe the user experience to Cursor, which generates the React components, validation logic, and Supabase integration.
Securing Your Application
Authentication means nothing without proper access control:
- Protecting the frontend routes: Route guards that redirect unauthenticated users to login
- Protecting backend API routes: Middleware that validates JWT tokens and attaches user context to requests
- Implementing RLS policies: Database-level security ensuring users can only access their own data
Related Lesson on Vibe Coding Academy
Related Lesson on Vibe Coding Academy
Related Lesson on Vibe Coding Academy
At the end of Step 5, your application is secure with production-grade authentication.
Step 6: Implement Payments with Stripe
Authentication proves who users are. Monetization proves whether your product has value. This step integrates Stripe for subscription payments, usage limits, and customer billing.
Understanding Stripe Integration
Several lessons lay the groundwork:
- High-level view of payments: Why monetization matters for validating product-market fit
- Implementing the pricing page: Define pricing tiers and build the pricing UI
- Getting started with Stripe: Navigate Stripe's dashboard, Products, Prices, Customers, Subscriptions
- Stripe Integration Workflows: Map out the complete subscription lifecycle from checkout to webhook
Related Lesson on Vibe Coding Academy
Related Lesson on Vibe Coding Academy

Related Lesson on Vibe Coding Academy
Related Lesson on Vibe Coding Academy
Setting Up the Foundation
Before implementing payment flows, you need the right database schema and account system:
- Designing Your Stripe-Ready Database Schema: Create tables for accounts, subscriptions, and usage records
- Setting up workflows around the Accounts: Link your user IDs to Stripe customer IDs
Related Lesson on Vibe Coding Academy
Related Lesson on Vibe Coding Academy
Webhooks and Subscription Flow
The core payment logic relies on Stripe webhooks, real-time notifications about payment events:
- How to Receive and Handle Stripe Webhooks: Set up a secure webhook endpoint with signature verification
- Subscription flow 1.1, Generating checkout sessions: Create Stripe checkout sessions when users click "Subscribe"
- Subscription flow 1.2, Creating the subscriptions: Process webhook data and create subscription records in your database
Related Lesson on Vibe Coding Academy
Related Lesson on Vibe Coding Academy
Related Lesson on Vibe Coding Academy
Managing Subscription Changes
Users need to change plans or cancel:
- Generating a billing portal session: Redirect users to Stripe's Customer Portal
- Updating a subscription: Handle plan changes via webhooks
- Cancelling a subscription: Handle cancellation lifecycle (immediate vs. end-of-period)
Related Lesson on Vibe Coding Academy
Related Lesson on Vibe Coding Academy
Related Lesson on Vibe Coding Academy
Enforcing Feature Entitlements
With subscription data in your database, restrict features based on plan:
- Reflecting entitlements in the frontend 1.1: Show upgrade prompts, disable premium features for free users
- Reflecting entitlements in the frontend 1.2, Credits counter: Track usage, display remaining credits, enforce monthly limits
Related Lesson on Vibe Coding Academy
Related Lesson on Vibe Coding Academy
At the end of Step 6, your application is fully monetized with subscription management and usage-based limits.
Step 7: Deploy to Production
Your application works on localhost. Now make it accessible to the world.
Understanding Deployment
Understanding frontend and backend deployment explains that frontend and backend deploy separately, static files on Netlify, Node.js server on Heroku, and Supabase is already hosted.
Related Lesson on Vibe Coding Academy
Preparing for Deployment
Replacing hard-coded URLs with environment variables is critical: localhost references will break your production app. With vibe coding, you describe this refactoring to Cursor and it finds and replaces all instances.
Related Lesson on Vibe Coding Academy
Your First Deployment
Performing our first deployment and connecting a custom domain walks through connecting your GitHub repository to Netlify (frontend) and Heroku (backend), configuring build settings, and connecting a custom domain.
Related Lesson on Vibe Coding Academy
Production Configuration
Several lessons handle production-specific setup:
- Setting up environment variables in Netlify and Heroku: Add API keys and URLs to your hosting platforms
- Switch to Stripe production environment 1.1: Validate your setup before accepting real payments
- Switch to Stripe production environment 1.2: Finalize the switch with a real end-to-end test
- Last adjustments to Supabase setup: Enable RLS, configure email templates, set up CORS, and enable backups
Related Lesson on Vibe Coding Academy
Related Lesson on Vibe Coding Academy
Related Lesson on Vibe Coding Academy
Related Lesson on Vibe Coding Academy
At the end of Step 7, your application is live on the internet with a custom domain. Users can sign up, subscribe, generate templates, and manage their accounts.
You've Built a Production SaaS with Vibe Coding
If you've followed this vibe coding tutorial from start to finish, you've accomplished something remarkable: building a complete, production-ready web application without traditional coding expertise.
Here's what you've built:
- A responsive frontend generated with Lovable and refined in Cursor
- A scalable Node.js backend with RESTful APIs
- A PostgreSQL database with proper relationships and Row Level Security
- User authentication with secure signup, login, and session management
- AI-powered features integrating the Claude API
- Full payment processing with Stripe subscriptions and usage limits
- Production deployment on Netlify and Heroku with custom domains
More importantly, you've learned a complete development workflow applicable to any product idea:
- Plan thoroughly with PRDs, competitive analysis, and user flow mapping
- Prototype rapidly with AI-powered frontend builders
- Build incrementally by adding one feature at a time
- Integrate strategically with external services
- Secure properly with authentication and database policies
- Deploy professionally with environment variables and proper configuration
What's Next?
This tutorial covers the foundation, but there's always more to explore. The Master Course: Build and Ship a Production-Ready App with Lovable and Cursor provides video walkthroughs of every step covered here, with live coding demonstrations and debugging sessions.
Related Course on Vibe Coding Academy
Vibe Coding Academy also offers specialized courses on Claude Code workflows, Figma MCP integration, and more.
The most important thing is to start building. Pick a problem you care about, create a PRD, and follow this process. The tools are ready. The infrastructure is accessible. Compare our courses to find the right fit. The only thing standing between you and a live product is execution.